
The Black Tower of Kalarel the Vile (Part IV)
These continue to be my notes from prep for my FLGS campaign. We take anyone that wants to play, every other Saturday night. Our big bad is Kalarel the Vile, as described by Matt Coleville on his Running the Game series. We started in a tavern, because that’s what you do, and we played out some of the more obvious tropes of Dungeons and Dragons. We head inexorably to the endgame.
[[This only goes up to the end of the second level. My guys finished this in about 2 hours, but I’m saving the final battle for its own post.]]
This level is born from the Pantheon series, clearly. But that’s just the flavor, and it’s what I’m working on. A friend and fellow DM gave me great advice years ago, “Don’t save things for later. If you have something cool, find a way to spring it on them now,” and it continues to be fantastic advice. I wanted to go above a simple puzzle, and create a multi-room level that was essentially an escape room. This ‘Respite’ level was born. A test of the gods, that may permit them faster access to the rooftop ritual. Keep in mind that much of this is designed around the realities of our table, and not as a one-size-fits-all module. It perhaps needs some tweaking, and the elemental theme is a bit heavy-handed, but it worked a treat at the table.
Also - I like to use AI as a tool. In the age of Chat GPT and Midjourney, I'm able to develop and share quickly and easily the preparation for these games, my notes and how I imagined the scene might look. Not interested in arguing about it. Enjoy.

If y’all want to argue about this hand-drawn masterpiece, however, go for it.
Second Level of the Tower
As the adventurers ascend the Black Tower of Undeath, they find themselves in a place where the malignant influence of Malych has not yet fully taken hold. Level Two, known as The Trial of the Gods, is a vast, interconnected complex of chambers and puzzles dedicated to the various deities of the Marathan pantheon. These once-sacred chambers have remained relatively untouched, serving as a last bastion of divine power amidst the unholy corruption that pervades the rest of the tower.
However, the pervasive presence of Malych has still managed to seep into this sanctum, twisting aspects of the puzzles and challenges, and tainting the trials with an insidious, dark influence. Each room is a test of the party's cunning, resourcefulness, and valor, as they must navigate deadly traps and solve intricate puzzles to unlock the secrets hidden within.
This level is designed as a massive escape room, consisting of six interconnected chambers, each dedicated to different gods and goddesses. The adventurers must venture back and forth between these rooms, solving puzzles and overcoming challenges to unlock the way forward. If navigated flawlessly, the entire level can be completed without any combat. However, the deadly traps and unexpected dangers lurking within these once-holy chambers will challenge even the most seasoned adventurers.
There are no wandering monsters in this level of the tower.
Central Hub
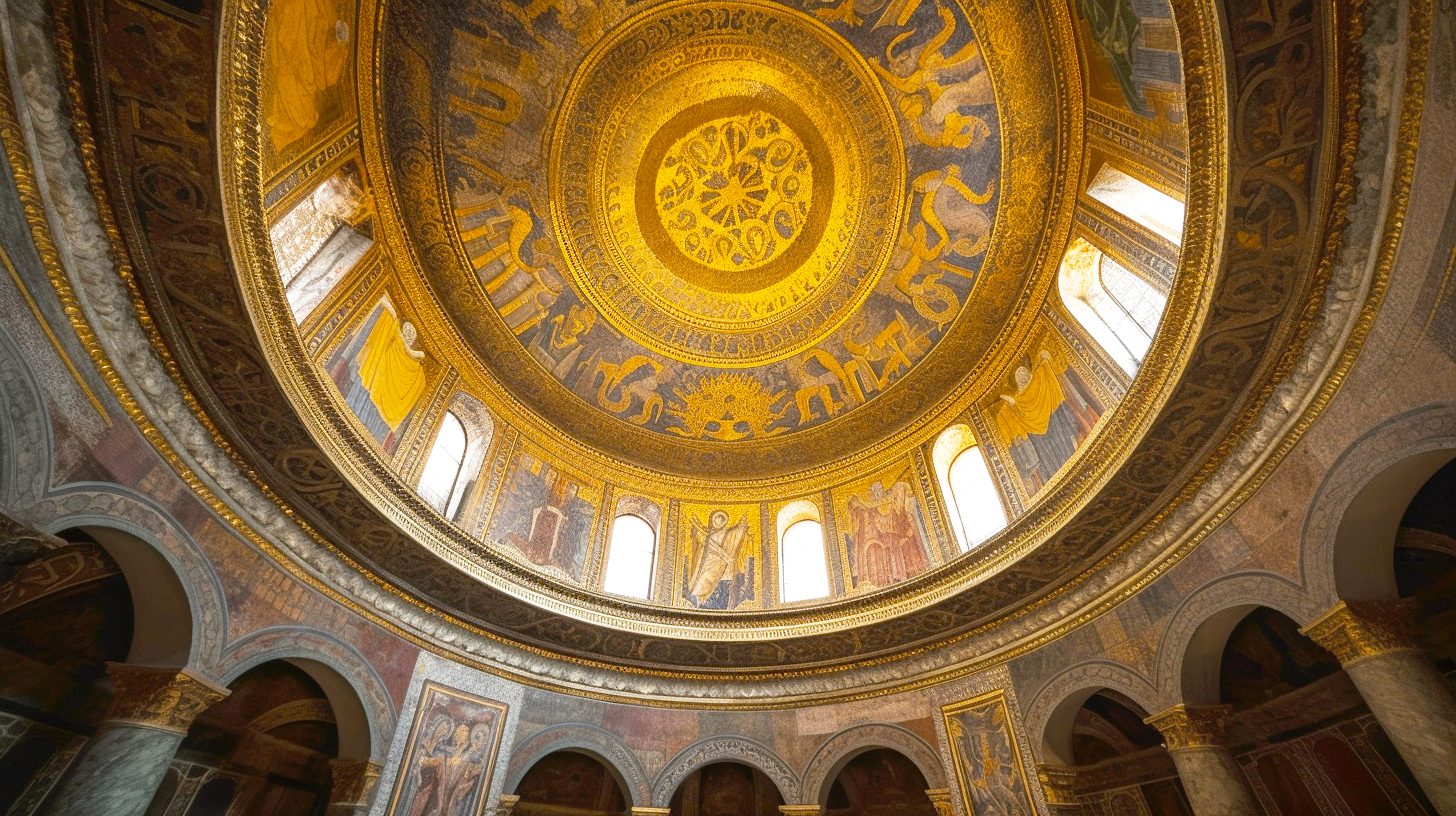
As you enter the Central Hub, you are immediately struck by the sense of reverence and awe that permeates the room. The chamber is adorned with vibrant murals depicting dozens of gods, from the benevolent Orthos and his wife Inara to the malevolent Demozubal and his concubine Nemindika, and every deity in between. The Marathan pantheon, in all its glory and horror, is on display here.
Emerging from the floor and extending up one wall into the ceiling and, presumably, beyond is the trunk and branches of the twisted blackened tree from the first level, now shot with streaks of gold and silver, a potent reminder that this level is not wholly untouched by Kalarel’s corrupt influence. Five doors, each intricately carved with symbols and iconography of the gods, radiate from the central chamber like the spokes of a wheel. Of these, only two doors stand unlocked and open, beckoning you further into the mystery of the tower. In the center of the room, a celestial guardian watches over the chamber, its eyes glowing with divine power. It seems to be waiting, its purpose unknown to you.
DM Information:
The Central Hub is guarded by a Couatl, a celestial serpent of divine origin, which was summoned to protect the sanctity of the gods' chambers. It is initially non-hostile, but it will become aggressive if the party attempts to deface the murals or unlock the doors in a disrespectful manner.
Of the five doors, only two are unlocked and accessible to the party. They can choose to enter either the Chamber of Elements or the Weighted Pressure Plates room. The other three doors are initially locked and magically sealed, preventing any unauthorized entry. One has four brackets of differing shapes across the seal of the door. One has a thick rod, jewels at each end, barring entry. The final door has three bronze gears of differing sizes set into it. In the midst of the gears is a peg for a large missing gear, and there is a hole in one of the smaller gears that leads deeper into the door.
The party must complete the puzzles in the accessible rooms before the seals on the other doors are lifted, allowing them to progress further into this level of the tower.
As the party explores the Central Hub and interacts with the Couatl, they may uncover valuable information or hints regarding the upcoming challenges. The guardian may be willing to share its knowledge if the party proves their respect for the gods and their intentions align with preserving the sanctity of the chambers.
Chamber of Elements

As you step through the doorway into the Chamber of Elements, the temperature fluctuates rapidly, assaulting your senses with an overwhelming mix of heat, cold, moisture, and dryness. This large, circular chamber is divided into four sections, each devoted to a different element: Fire, Water, Earth, and Air.
Fierce, roaring flames fill the Fire section, while the Water section appears to be a small, raging whirlpool. The Earth section is a lush, miniature forest, teeming with life, and the Air section is a swirling vortex of wind and mist. Each section is separated by a magical barrier, preventing the elements from merging and maintaining the balance of the room.
In the center of the room there is a pedestal, upon which lies a silver plaque.
DM Information:
The silver plaque is engraved with this prayer:
From the raging inferno of Bellumara's ire, life-giving water flows.
Aquarion’s blessing upon fertile earth, the seeds of new life grow.
In Sylpherna’s time, new seeds sprout and away they fly.
Carried on Xaldrakar’s storm wind, as lightning streaks the sky.
And so the cycle begins anew,
In this dance of elements, balance holds true.
Note the cycle, note it well,
When you may need it, who can tell?
The Chamber of Elements is a complex puzzle that requires the party to obtain the four elemental keystones and place them in the correct slots on the door to the Enchanted Lock room to gain entry. Each section of the room contains a unique challenge related to its respective element. The party must successfully overcome these challenges to obtain the keystones.
Fire Section: A series of stepping stones hover over a pool of molten lava. The party must traverse the treacherous path without falling into the lava. Characters who fall will take fire damage and must attempt the challenge again. At the end of the path lies the Fire Keystone.
Characters must attempt a DC 15 Dexterity (Acrobatics) check to navigate the stepping stones without falling into the lava.
Falling into the lava deals 2d10 fire damage and requires the character to start again at the beginning of the path.
Water Section: The whirlpool contains a submerged chest, which holds the Water Keystone. Characters must dive into the churning waters, succeed on a Strength (Athletics) check to swim against the current, and then pick the lock of the chest (Dexterity check with thieves' tools) while underwater.
Characters must first succeed on a DC 15 Strength (Athletics) check to swim against the whirlpool's current.
If successful, they must then make a DC 15 Dexterity check using thieves' tools to pick the lock of the submerged chest.
Earth Section: The lush forest contains a number of carnivorous plants that will attack anyone who ventures too close. The Earth Keystone is hidden within a hollow tree, guarded by these dangerous plants. Characters must find a way to reach the keystone without provoking the plants or find a means to neutralize the threat.
Characters can attempt a DC 15 Wisdom (Perception) check to spot the Earth Keystone hidden within the hollow tree.
They must then find a way to reach the keystone without provoking the plants. This could be done with ranged attacks or spells, or by making a DC 15 Dexterity (Stealth) check to move through the area without alerting the plants.
Air Section: The swirling vortex of wind is strong enough to knock characters off their feet. The Air Keystone is suspended in the air at the center of the vortex. Characters must find a way to reach the keystone, possibly by using ranged attacks or spells to knock it loose, or by finding a way to temporarily calm the winds.
Characters must attempt a DC 15 Strength (Athletics) check to maintain their footing in the vortex. Failing this check results in being knocked prone and taking 1d6 bludgeoning damage.
Characters can then attempt to retrieve the Air Keystone using ranged attacks or spells, requiring a successful DC 15 attack roll. Alternatively, characters can attempt a DC 15 Intelligence (Arcana) check to identify a temporary solution to calm the winds, such as casting a spell or performing a ritual.
Each time an elemental keystone is retrieved, a magical trap in the Trap Gauntlet room is deactivated. Once all four elemental keystones have been retrieved, the Trap Gauntlet room is only filled with physical traps, and may be much more easily navigated. Once all four elemental keystones are placed in the correct slots on the door to the Enchanted Lock room, the magical barriers dissipate, and the door opens, allowing access to the Enchanted Lock room.
Pressure Plate Room

As the party enters this room, they are greeted by the sight of a vast chamber, with walls adorned with depictions of Maniathos, god of unpredictability, and Espraxis, goddess of trickery. The floor of the room is made up of a large grid of stone tiles, with an array of differently colored pressure plates scattered throughout. A faint, otherworldly glow emanates from the plates, casting eerie, dancing shadows on the walls. Opposite the entrance, an intricately carved door stands closed, flanked by two statues of the trickster gods, smirking as if they know a secret the party does not. A sense of unease and tension fills the air.
DM Information:
This room is dedicated to the gods of unpredictability and trickery, and as such, it is a test of the party's problem-solving skills and adaptability. The objective of the Pressure Plate Room is for the adventurers to step on the correct sequence of pressure plates in order to unlock the door on the opposite side of the room.
The pressure plates are of four different colors: red, blue, brown, and green. The colors correspond to the four classical elements: fire, water, earth, and air. The plates must be walked upon in a specific order to safely cross the room. The correct order is represented by a riddle, inscribed on a plaque in the Chamber of Elements:
" From the raging inferno of Bellumara's ire, life-giving water flows.
Aquarion’s blessing upon fertile earth, the seeds of new life grow.
In Sylpherna’s time, new seeds sprout and away they fly.
Carried on Xaldrakar’s storm wind, as lightning streaks the sky.”
The correct order to walk safely on the pressure plates is: Fire (red), Water (blue), Earth (green), and Air (yellow).
Each time a player steps on an incorrect pressure plate, a trap is triggered. The traps are themed according to the corresponding element:
Fire (red): A jet of flame shoots out from the wall, dealing 2d6 fire damage to the character who stepped on the plate (Dexterity saving throw DC 15 for half damage).
Water (green): A torrent of water bursts forth, attempting to knock the character prone and push them back 10 feet (Strength saving throw DC 15 to resist).
Earth (brown): The floor beneath the character suddenly shifts, causing them to lose their balance and potentially fall prone (Dexterity saving throw DC 15 to stay on their feet).
Air (blue): A powerful gust of wind knocks the character off the plate and potentially into a nearby trap (Strength saving throw DC 15 to resist being moved).
Once the party figures out the correct sequence and steps on the pressure plates in the correct order, they reach the statue of the Lovers, Maniathos and Espraxis. Between them, they hold a rod with an emerald atop it, engraved with runes. Taking the rod will grant them access to the Trap Gauntlet room. The rod itself is a key to solving the Enchanted Lock room.
Trap Gauntlet Room

As the party enters the Gauntlet room, the air becomes thick with tension. The room is a long, narrow corridor lined with menacing statues of Tyrannus, the god of tyranny, and Retribia, the goddess of punishment. Each statue holds an instrument of torture or punishment, and their stone eyes seem to follow you with a stern gaze. A giant statue of Tyrannus stands at the end of the corridor, hands outstretched before him. The floor and walls are adorned with a variety of ominous-looking devices and mechanisms. Each section of the corridor appears to correspond to an elemental theme - Fire, Water, Earth, and Air.
DM Information:
The Trap Gauntlet room is a challenging corridor filled with traps. Each elemental section holds a trap that corresponds to its element, which can be deactivated by retrieving the corresponding elemental keystone from the Chamber of Elements.
Each trap has a Perception DC 15 to spot and an Investigation DC 15 to figure out how it works and how to avoid it. Mechanical traps that are spotted can be disabled by a character using Thieves Tools with an appropriate Dexterity check.
Fire Trap: A section of the floor is heated to an extremely high temperature. If not deactivated, anyone stepping on it must make a DC 15 Dexterity saving throw or take 3d6 fire damage. Retrieving the fire keystone deactivates this trap. The heated floor section is 10 feet long. A successful DC 15 Athletics or Acrobatics check allows a character to leap over it.
Water Trap: A powerful jet of water suddenly sprays from the wall. If not deactivated, anyone hit by it must make a DC 15 Strength saving throw or be pushed back 15 feet into the Fire Trap and knocked prone. Retrieving the water keystone deactivates this trap. The water jet can be dodged with a successful DC 15 Acrobatics check.
Earth Trap: Massive stone blocks suddenly drop from the ceiling. If not deactivated, anyone underneath must make a DC 15 Dexterity saving throw or take 3d6 bludgeoning damage. Retrieving the earth keystone deactivates this trap. The dropping blocks can be avoided with a successful DC 15 Acrobatics check.
Air Trap: A gust of powerful wind suddenly blows down the corridor. If not deactivated, anyone caught in it must make a DC 15 Strength saving throw or be pushed back 15 feet into the Earth Trap and knocked prone. Retrieving the air keystone deactivates this trap. By hugging the wall and moving slowly, a character can bypass the wind gust with a successful DC 15 Athletics or Acrobatics check.
In addition to the elemental traps, there are also several physical traps:
Spiked Pit Trap: A section of the floor opens up to reveal a pit filled with spikes. Anyone stepping on it must make a DC 15 Dexterity saving throw or fall into the pit, taking 2d6 piercing damage. The pit is 10 feet long. If spotted, a successful DC 15 Athletics or Acrobatics check allows a character to leap over it.
Dart Trap: Hidden openings in the wall launch a flurry of darts. Anyone in the area must make a DC 15 Dexterity saving throw or take 2d6 piercing damage. If spotted, the mechanism that deploys these darts may be disabled by a character using Thieves Tools with a successful DC 15 Dexterity check. Alternately, staying out of the line of fire or using a shield or other cover can allow a character to avoid the darts with a successful DC 15 Dexterity saving throw
Swinging Axe Trap: An enormous axe swings down from the ceiling. Anyone in its path must make a DC 15 Dexterity saving throw or take 2d6 slashing damage. If spotted and solved, the mechanism that deploys this axe may be disabled by a character using Thieves Tools with a successful DC 15 Dexterity check. Alternately, the axe swings in a predictable pattern. Timing a run past it with a successful DC 15 Acrobatics check will allow a character to avoid it.
Surpassing the traps will take the PCs to an alcove at the end of the corridor where Tyrannus extends his hands from the wall, upon one of which is a large bronze gear. The other hand holds an hourglass, forever suspended in stone at the same time. If inspected, the hourglass has markings of numbers on the glass, and the level of the sand is ‘3’.
Enchanted Lock Room

As the party steps into the Enchanted Lock room, they are met with an eerie silence. The room is centered around a large, ornate chest elevated on a stone pedestal. Intricate runes etched into the chest glow dimly, giving the room an otherworldly ambiance. The chest itself bears an elaborate lock mechanism, filled with a series of rotating discs and dials, each marked with strange symbols. Statues of Moloch, the god of protection, and his daughter Pactura, the goddess of contracts, stand on either side of the chest, hands raised toward one another above the chest, their stony gazes fixed on the puzzling lock. On the wall opposite the entrance, a large sundial is mounted.
DM Information:
The Enchanted Lock room presents an intricate magical lock that the party must solve. The lock itself is a complex mechanism requiring both intelligence and dexterity to manipulate. However, the jewel-topped rod retrieved from the Weighted Pressure Plates room can aid in this task. By inserting the rod into a small, almost hidden slot in each of the hands of the god’s statues, some of the runes will glow more brightly, indicating the correct positions of the corresponding discs and dials.
Without the rod, the players must succeed in a series of skill checks to open the chest: a DC 15 Arcana check to understand the function of the runes, a DC 15 Investigation check to figure out the correct sequence of the discs and dials, and three DC 15 Sleight of Hand checks to manipulate the discs and dials without triggering a magical trap that deals 4d6 radiant damage.
With the rod, the DC is reduced to 10, and a single successful Sleight of Hand check is enough to open the chest. Inside the chest is a crank handle of bronze.
The sundial on the wall provides an additional clue for the final Clockwork Puzzle room. The shadow points at hour 7, indicating that this number will be important in solving the final puzzle. This should be enough of a hint for the players to start thinking about the significance of the times shown in the Trap Gauntlet room and the Enchanted Lock room.
Clockwork Puzzle Room

Upon entering the Clockwork Puzzle room, the air fills with the faint sound of ticking gears and the smell of age-old oil. The room itself is a shrine dedicated to Chronysia, goddess of time, and her brother Hephalos, god of craftsmanship and technology. Their statues stand on either side of a large, intricate clockwork mechanism built into the far wall. The room is otherwise bare, save for a small inscription etched into the floor in front of the clockwork mechanism, which reads: "In the sequence of divine order, time unfolds."
DM Information:
The Clockwork Puzzle room presents the final puzzle of this level. The hands on the clockwork mechanism currently point at 5and 9. The clues found in the Trap Gauntlet room and the Enchanted Lock room indicate the sequence in which the hands of the clock must be set: 7 (from the sundial in the Enchanted Lock Room), and 3 (from the hourglass in the Trap Gauntlet room).
The party must succeed in a DC 15 Insight check to get a reminder that this is not the first time-piece they have seen on this level.
Once the clock hands are correctly set, the clockwork mechanism gives a satisfying click, and the room trembles as a set of stairs appear leading up to the next level.
In addition, the statues of Chronysia and Hephalos come to life momentarily, thanking the party for restoring the divine order. Each party member is blessed with a boon: they gain advantage on all ability checks and saving throws related to their class’s primary ability score for the next 24 hours.
As a final touch, an additional passage opens in the room revealing a small alcove. Inside, there is a chest containing a few helpful items for the upcoming battle: a Potion of Superior Healing, a Scroll of Protection from Energy, and a +1 weapon suitable to a member of the party.
Couatl Guardian Serpent

Large Celestial
Lawful Good
Armor Class: 17 (natural armor)
Hit Points: 85 (10d10 + 30)
Speed: 40 ft., fly 90 ft.
STR: 16 (+3) DEX: 20 (+5) CON: 16 (+3)
INT: 18 (+4) WIS: 20 (+5) CHA: 18 (+4)
Saving Throws: Dex +8, Con +6, Wis +8, Cha +7
Skills: Perception +8, Stealth +8
Damage Resistances: bludgeoning, piercing, and slashing from nonmagical attacks
Condition Immunities: charmed
Senses: truesight 120 ft., passive Perception 18
Languages: all, telepathy 120 ft.
Challenge: 5 (1,800 XP)
TRAITS:
Innate Spellcasting: The couatl's spellcasting ability is Charisma (spell save DC 15). It can innately cast the following spells, requiring no material components:
At will: detect evil and good, detect magic, detect thoughts
3/day each: bless, create food and water, cure wounds, lesser restoration, protection from poison, sanctuary, shield
1/day each: dispel magic, greater restoration, remove curse, remove disease
Magic Weapons: The couatl's weapon attacks are magical.
Actions:
Bite: Melee Weapon Attack: +8 to hit, reach 5 ft., one target. Hit: 8 (1d6 + 5) piercing damage, and the target must succeed on a DC 13 Constitution saving throw or be poisoned for 24 hours. Until this poison ends, the target is unconscious. Another creature can use an action to shake the target awake.
Constrict: Melee Weapon Attack: +6 to hit, reach 10 ft., one Large or smaller creature. Hit: 13 (2d8 + 4) bludgeoning damage, and the target is grappled (escape DC 16). Until the grapple ends, the target is restrained, and the couatl can't constrict another target.
Change Shape: The couatl can use its action to polymorph into a humanoid or beast that has a challenge rating equal to or less than its own, or back into its true form. Its statistics, other than its size, are the same in each form. Any equipment it is wearing or carrying isn't transformed. It reverts to its true form if it dies.
The Couatl Guardian Serpent is a powerful celestial creature that guards the Central Hub room, ensuring that only worthy adventurers can attempt the challenges within. While it is not inherently hostile, it is determined to fulfill its duty to protect the sacred chambers dedicated to the gods of the Marathan pantheon. If the party can prove their worthiness or somehow gain its trust, it may allow them passage without conflict. However, if the party resorts to combat or displays malicious intent, the Couatl Guardian Serpent will not hesitate to use its full range of abilities to protect the sacred chambers.
Carnivorous Plants

Medium Plant
Unaligned
Armor Class: 14 (natural armor)
Hit Points: 39 (6d8 + 12)
Speed: 0 ft. (immobile)
STR: 14 (+2) DEX: 8 (-1) CON: 14 (+2)
INT: 1 (-5) WIS: 10 (+0) CHA: 3 (-4)
Saving Throws: Con +4
Damage Resistances: bludgeoning, piercing
Condition Immunities: prone
Senses: blindsight 30 ft. (blind beyond this radius), passive Perception 10
Languages: -
Challenge: 3 (700 XP)
Traits:
Immobile: The plant is unable to move from its location.
Actions:
Vine Whip: Melee Weapon Attack: +4 to hit, reach 15 ft., one target. Hit: 8 (2d6 + 2) slashing damage, and the target is grappled (escape DC 14). While grappled, the target is restrained and takes 7 (2d6) piercing damage at the start of each of its turns until it escapes or the plant is killed.